
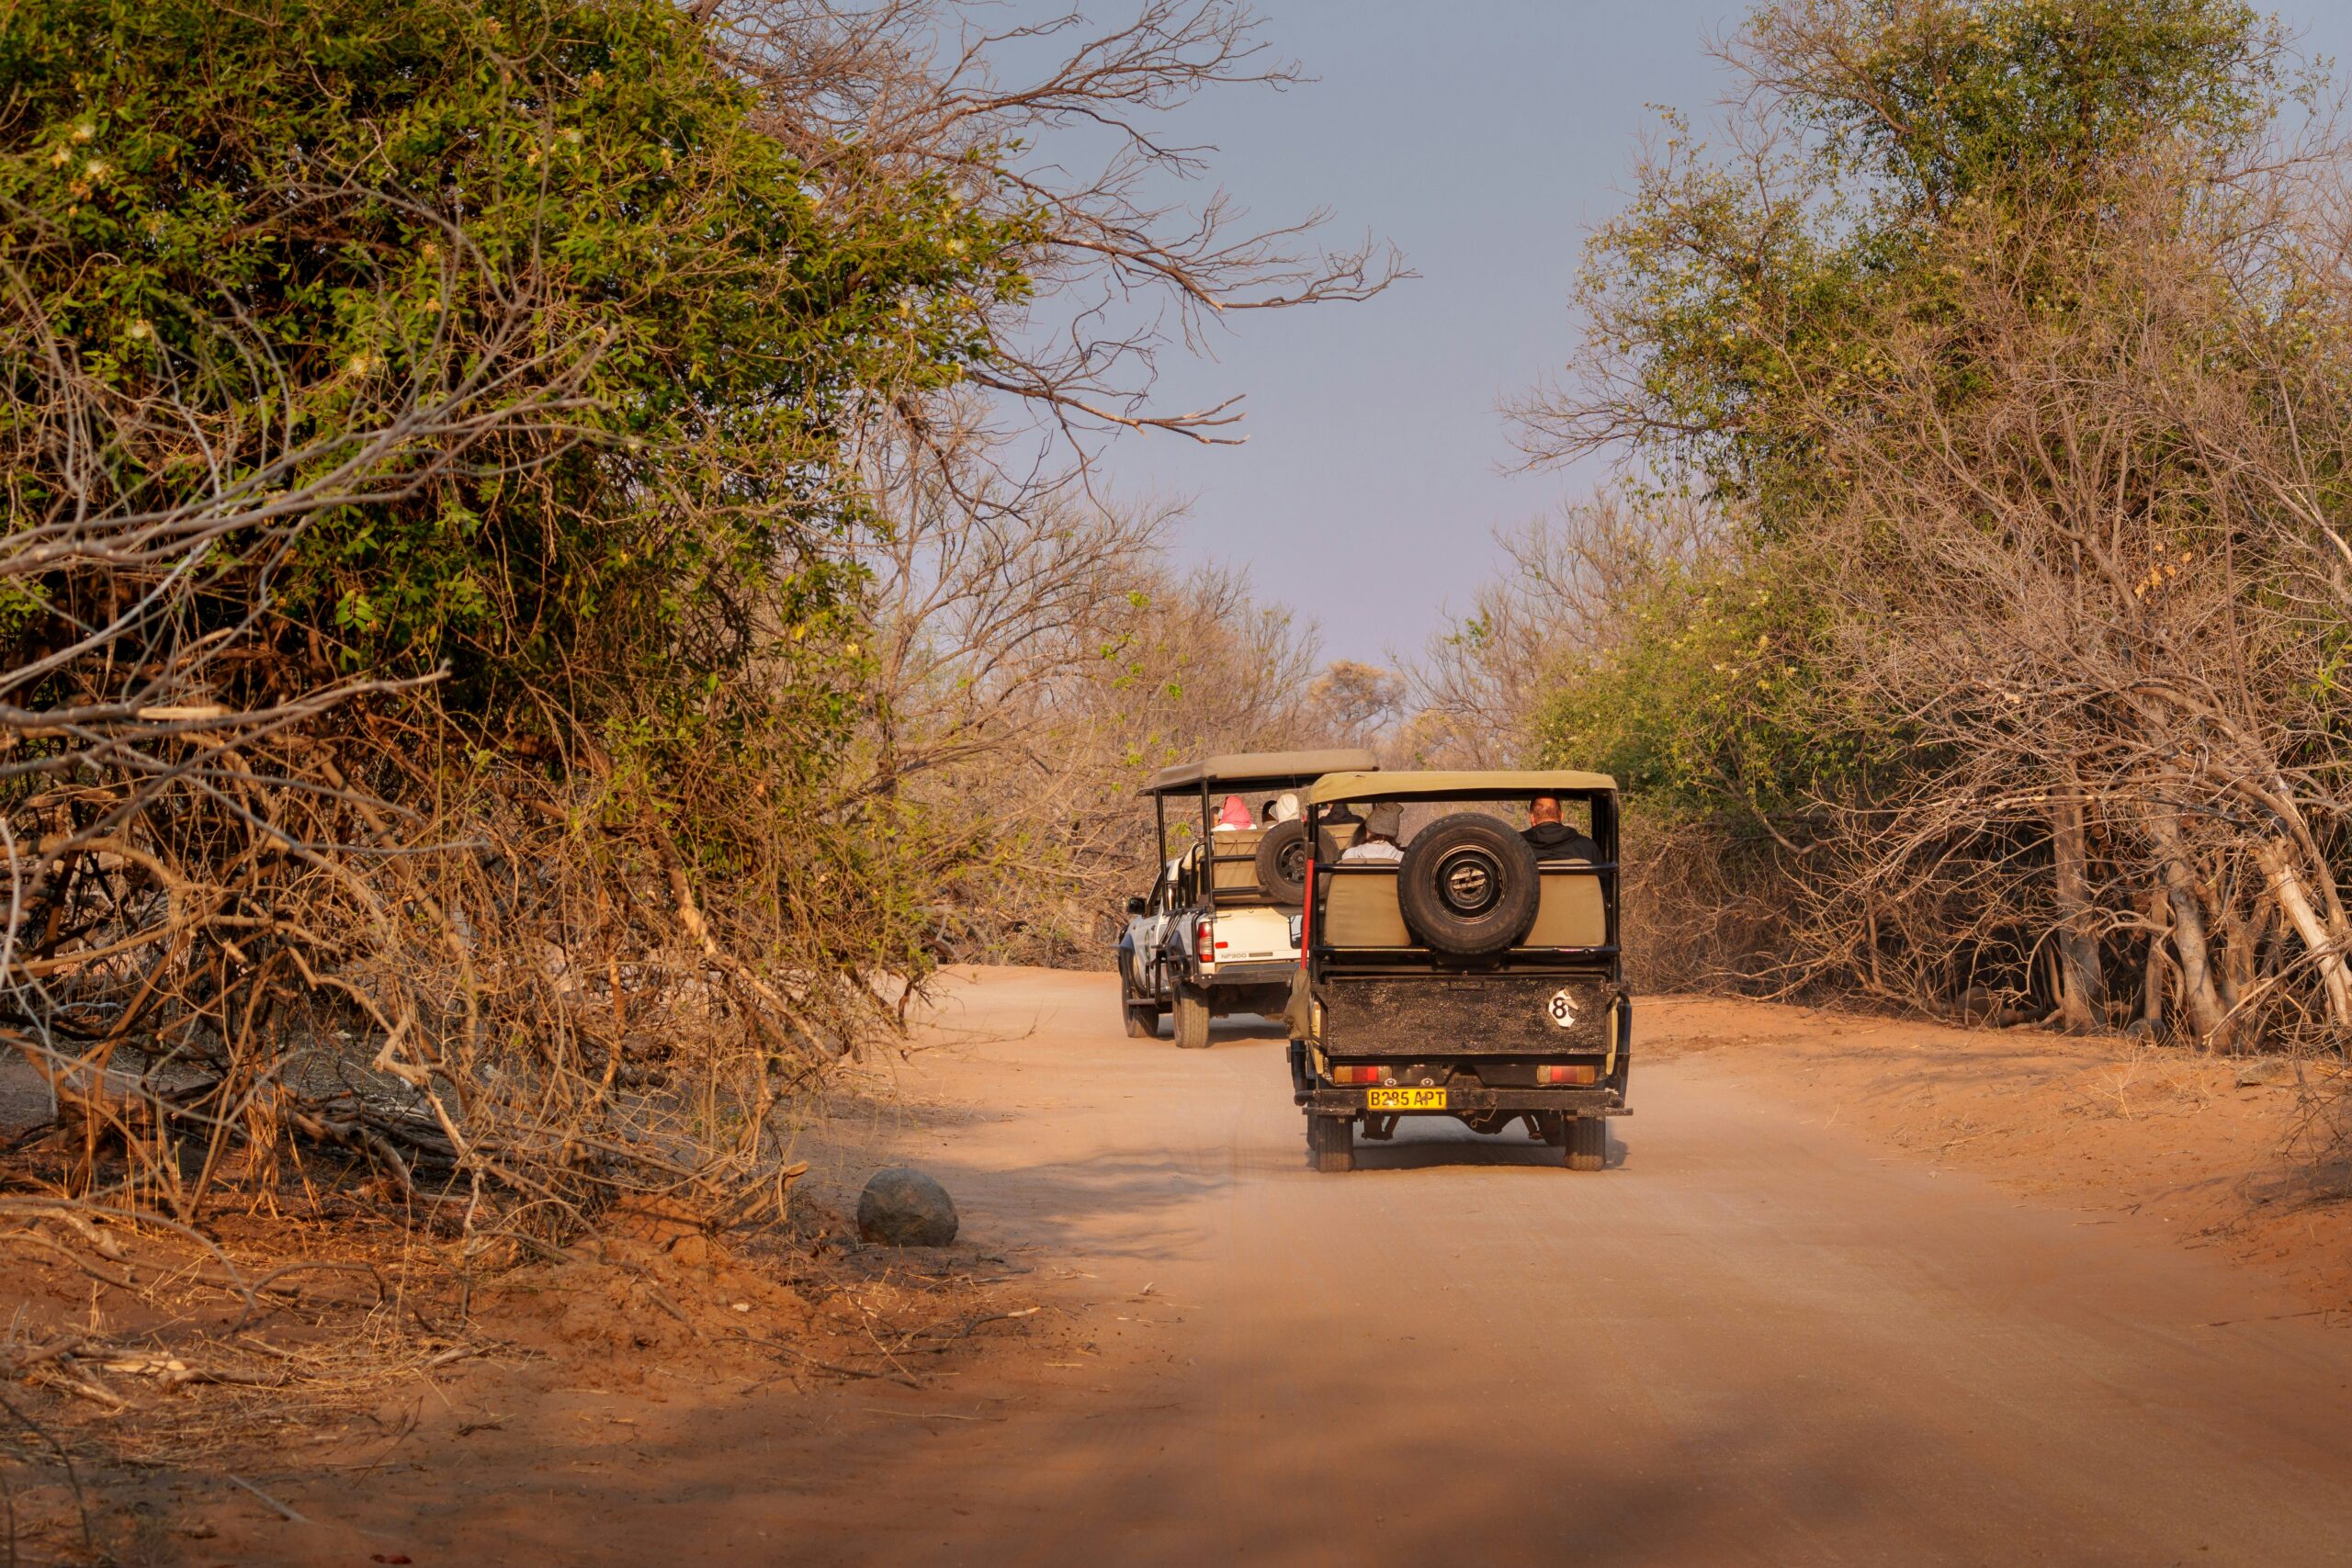
Photography from a safari vehicle is constrained by movement, other guests, dust and the fact that the animal’s welfare comes before the picture. A practical setup is one you can lift quickly, stabilise without occupying the whole row and protect between sightings.
Good photography from a safari vehicle does not require a bag full of gear. For a first Botswana trip, one camera body and a versatile telephoto are usually more useful than a bag full of overlapping lenses. Add a second body only if you already use it confidently and can manage the extra charging and dust exposure.
Last checked
19 September 2026. Conditions, rules and operator arrangements can change. Confirm volatile details with the responsible authority or operator before travelling.
In this guide
photography from a safari vehicle: Choose reach you can hold
A telephoto zoom in the broad 100–400 mm or similar range is flexible for mammals and larger birds. Exact focal length depends on sensor size, vehicle distance and personal technique. Longer is not automatically better if the lens is too heavy to track.
For photography from a safari vehicle, bring a wider option for landscapes, elephants close to the vehicle and people only with consent. Avoid changing lenses in blowing dust. If using one body, choose the range that covers most of the day.
Support the camera without blocking others
For photography from a safari vehicle, a soft beanbag can stabilise a lens on a vehicle rail when the operator allows it. Clamp systems and monopods need explicit approval because they can damage vehicles, obstruct exits or become hazardous on rough tracks.
Discuss seating and equipment before departure. Keep bags under control, never rest gear on another guest’s space and lower the camera when someone behind you needs a clear view.
Choose the vehicle as carefully as the lens
Seat layout, group size and private-vehicle options determine how easily photographers can move and wait. Compare guided safari formats before buying more equipment.
Set the camera before the sighting
Use a shutter speed fast enough for subject and vehicle movement, continuous autofocus and burst mode in moderation. Auto ISO can help when light changes, but set a maximum that produces files you are willing to use.
Save a simple starting configuration and review exposure without spending the whole sighting on the rear screen. In harsh light, protect highlights on pale birds and reflective water.
Manage dust, batteries and storage
Carry a blower, cloths and sealed bags. Clean exterior dust away from the mount before changing a lens. Do not perform a full sensor clean in the field unless you know the procedure.
Bring enough batteries for long drives and verify camp charging arrangements. Back up cards to a second device when practical, but keep one copy physically separate. Label chargers and adapters.
Photographic etiquette
Responsible photography from a safari vehicle starts with this rule: never ask a guide to crowd, chase or block an animal. Botswana’s official viewing guidance says not to cut off an animal’s line of retreat. Silence phones, avoid sudden movement and keep flash off around wildlife unless a specialist operator explicitly permits a safe use.
Do not publish precise locations of rhinos, dens or nests. Ask before photographing staff or community members. The strongest image is not worth changing the subject’s behaviour or another traveller’s experience.
Photography from a safari vehicle: use a pre-drive routine
Before photography from a safari vehicle begins, set the camera while the vehicle is stationary. Choose the starting exposure mode, autofocus behaviour and frame rate, format the correct card and take a test frame. Check that the lens hood is secure and the strap cannot catch on a door or another guest. A prepared camera reduces movement and conversation when an animal appears close to the vehicle.
For photography from a safari vehicle, place the equipment so it can be reached without crossing another passenger’s space. Keep one body and lens ready, protect the rest from dust and use a soft support only with the guide’s approval. Do not balance loose equipment on a rail while the vehicle is moving. Tell the guide if a heavy lens or mobility issue changes how safely you can enter, exit or rotate in the seat.
Review photography from a safari vehicle during the midday break, not at every sighting. Check exposure and focus on a small sample, back up if the workflow is reliable and recharge in order of need. Keep enough card and battery capacity for the next drive. The goal is to correct a repeated technical problem without allowing the screen to replace observation or delay the group.
- Test settings before the vehicle moves.
- Keep one practical lens ready and the rest sealed.
- Share sightlines and follow the guide’s seating rules.
- Back up and recharge during the midday break.
- Let photography from a safari vehicle remain secondary to animal welfare.
Practical checklist
- Use a telephoto you can lift and track comfortably.
- Confirm beanbag, clamp and private-vehicle options.
- Prepare autofocus and shutter settings before each drive.
- Carry dust protection, spare batteries and two storage copies.
- Never pressure wildlife or expose sensitive locations.
Sources and verification
The main references used for this article were BTO wildlife-viewing guidance, BTO game-drive overview. Where a source is old, incomplete or silent on an operational detail, the article says so instead of presenting an assumption as a rule.
Our safaris and activities guide explains how vehicle rules differ between parks and concessions.
Photography from a safari vehicle becomes easier when the setup disappears into the background. Prepare the camera, protect the gear, share the space and let the animal determine the encounter.